Ingredients
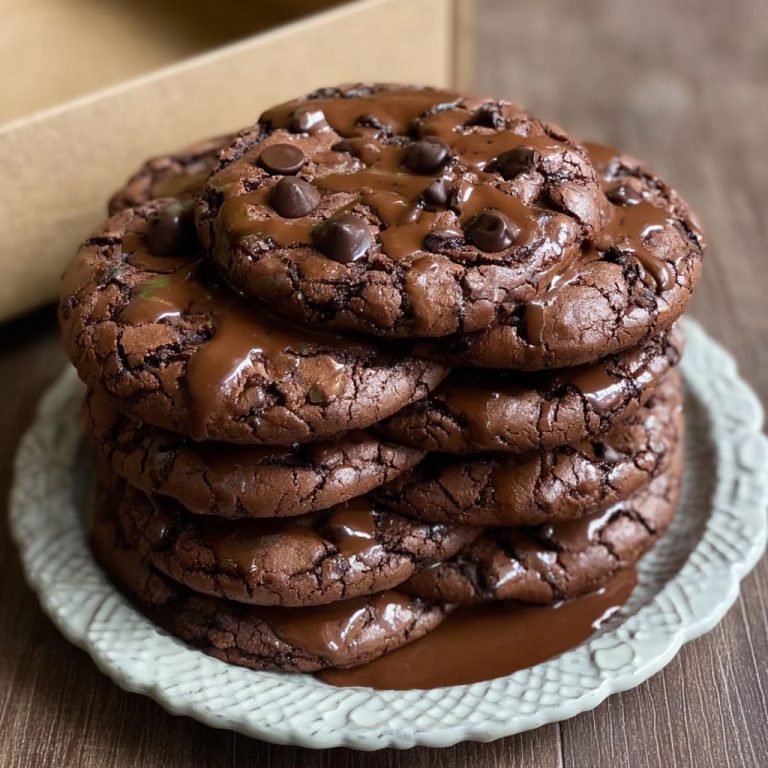
Chocolate Chips or Dark Chocolate (1 cup)
Use high-quality chocolate for the best flavor. Dark chocolate (60–70% cocoa) gives a deeper, richer taste.
Unsalted Butter (¼ cup / 60 g)
Adds moisture and that classic brownie richness.
Granulated Sugar (½ cup)
Provides sweetness and helps create a shiny, crackly top.
Eggs (1 large)
Acts as a binder and gives the cookies structure and chewiness.
All-Purpose Flour (¼ cup)
Just enough to hold everything together without making the cookies cakey.
Instructions
Melt the Chocolate and Butter
In a heatproof bowl, melt the chocolate and butter together using a microwave (in 20-second intervals) or a double boiler. Stir until smooth and glossy. Let it cool slightly.
Step 2: Add Sugar and Egg
Mix the sugar into the melted chocolate mixture. Add the egg and whisk until fully combined and slightly thickened.
Step 3: Fold in the Flour
Gently fold in the flour using a spatula. Do not overmix—this keeps the cookies soft and fudgy.
Step 4: Chill the Dough
Refrigerate the dough for 15–20 minutes. This step prevents excessive spreading during baking.
Step 5: Bake
Preheat your oven to 175°C (350°F). Line a baking tray with parchment paper. Scoop tablespoon-sized portions and space them apart.
Bake for 10–12 minutes, until the edges are set but the centers are still soft.
Step 6: Cool and Serve
Allow cookies to cool on the tray for 5 minutes before transferring to a wire rack.